buying-guide
What to Pack in a Practical 72-Hour Emergency Kit
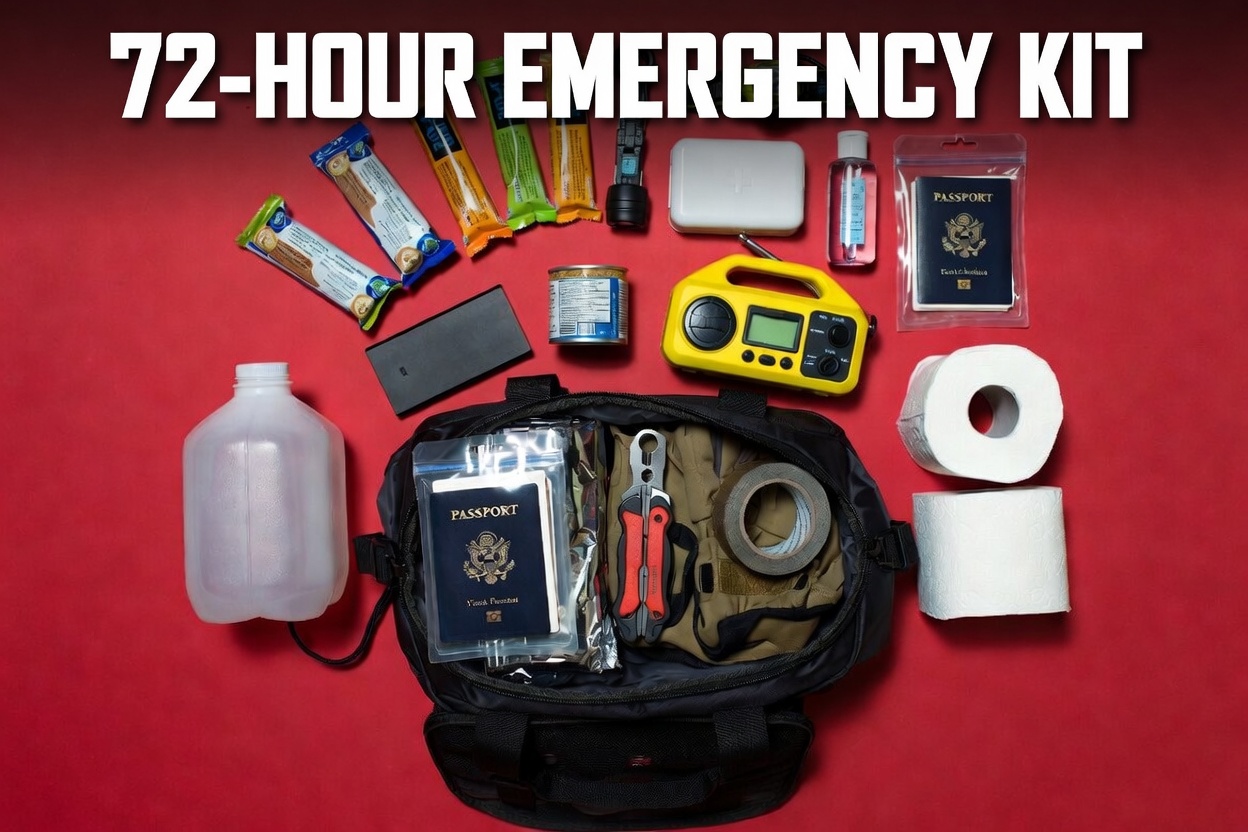
How to build a real 72-hour emergency kit that covers water, food, warmth, hygiene, tools, and meds without filler items that waste space. Learn what to prioritize and what low-value extras to skip.
Field First Aid Kits / buying_guide
Published: May 29, 2026 / Updated: Jun 2, 2026
Prices, availability, and product details can change. Check current details with the seller before buying.
Article
Overview
Most store-bought emergency kits look impressive, but many skip the basics you actually need during a blackout or quick evacuation. They often under-provision water, forget useful hygiene items, or include gimmicks that are useless once the power is out.
A solid 72-hour emergency kit is not about prepping for the end of the world. It is about keeping your household safe, fed, and functioning for a few days after a storm, power outage, or sudden evacuation. Focus on essentials you will use, not toys you might regret.
This guide lays out a practical, prioritized list for a 72-hour home emergency kit, what to buy ready-made, what to assemble yourself, and common pitfalls to avoid. Expect straightforward, no-nonsense advice you can act on in an afternoon.
BuyerProbe Take: Build a 72-Hour Kit You Will Actually Use
Seventy-two hours is not an arbitrary number. FEMA and the Red Cross call for a 72-hour supply because roads, utilities, and emergency services are often tied up for that long after storms, earthquakes, or other common disasters. For most people,families, apartment dwellers, and renters,that timeframe covers the realistic window when you need to be self-sufficient without turning your home into a bunker.
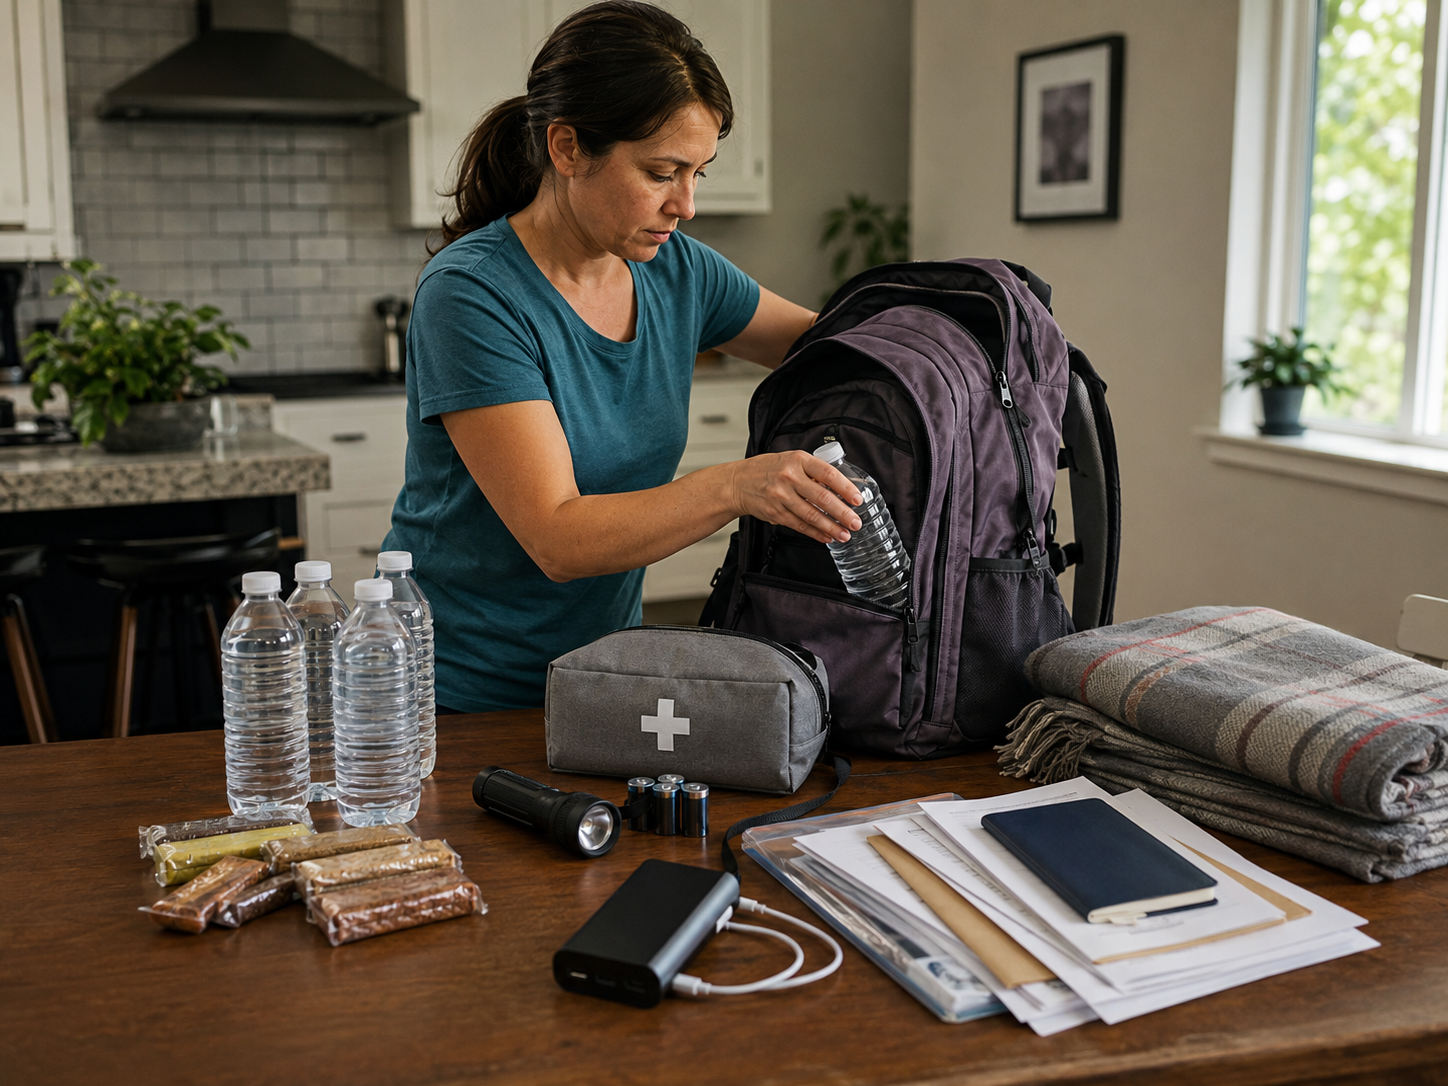
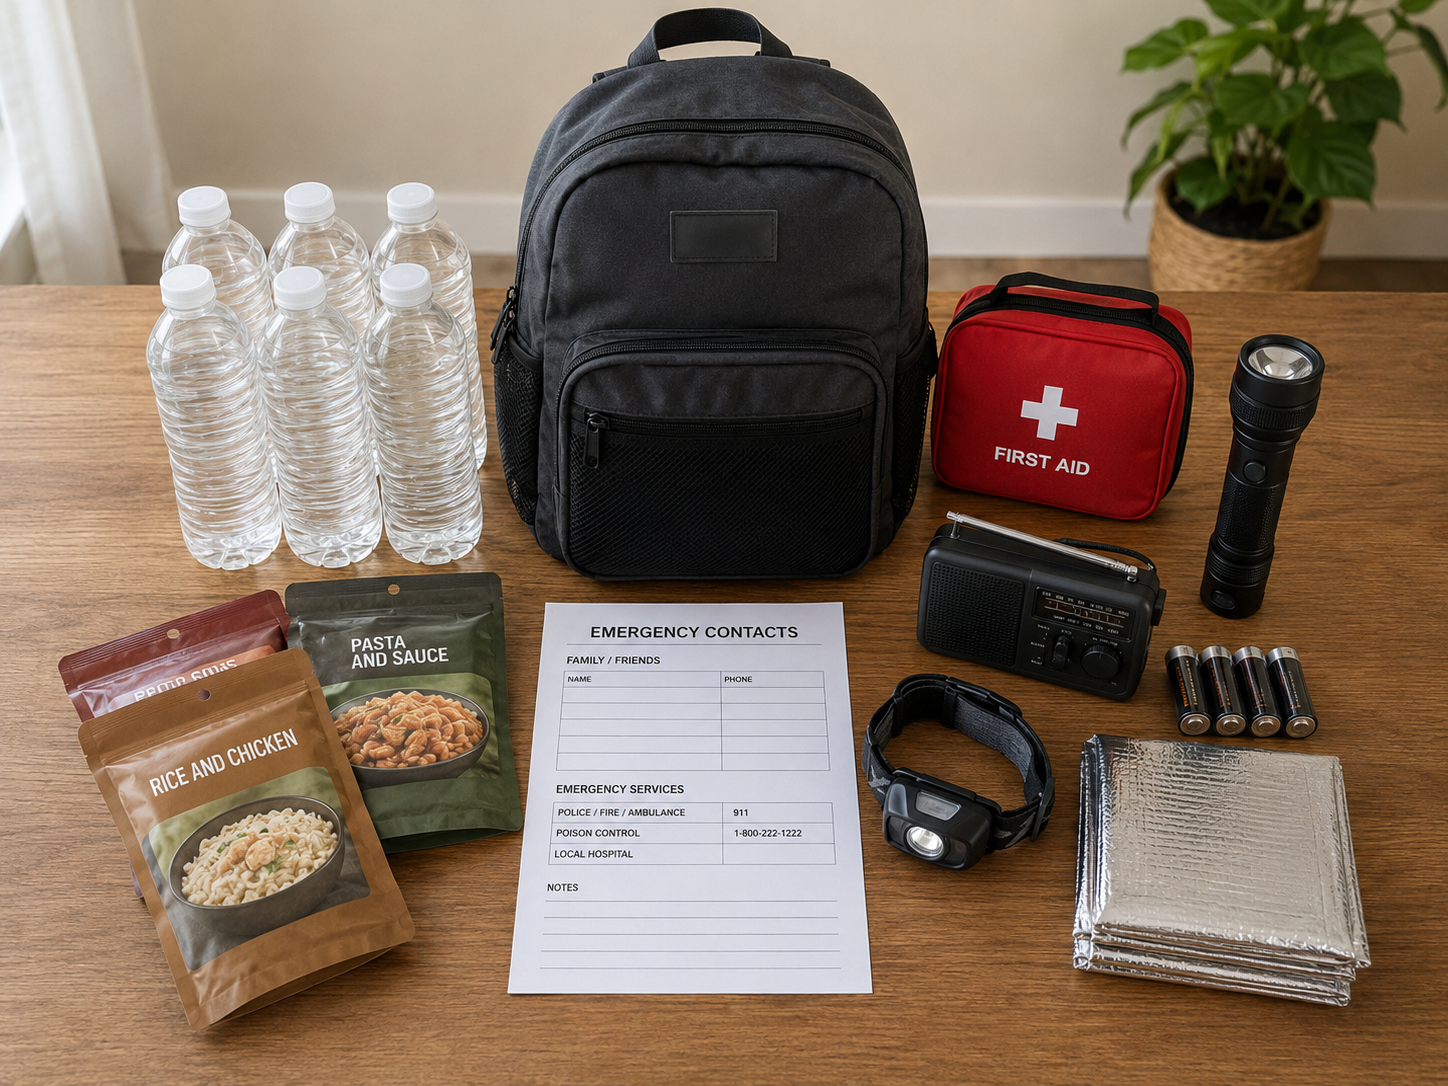
The best kit is portable, customizable, and practical. That means an easy-to-grab go bag, a basic first aid pouch, water and food for each person, a simple way to stay warm and light, and copies of critical documents. Focus on items you can use under stress: pre-packaged food that does not need cooking, sealed water, an extra phone charger, and a small first aid kit that handles common injuries.
Tradeoffs matter. Bigger kits can carry more supplies but become heavy and hard to move. Tailor the contents to your household. A single adult needs far less than a couple with two small kids or a neighbor caring for an elderly parent. Label medications and allergy info clearly, and rotate perishable items every six to twelve months.
A practical rule: if you cannot lift or carry the packed bag easily for a few blocks, you will not grab it in a hurry. Keep a stripped-down grab-and-go version in an obvious place, and a fuller kit at home. That approach covers the 72-hour window without overcomplicating your life.
Water: The Non-Negotiable Priority
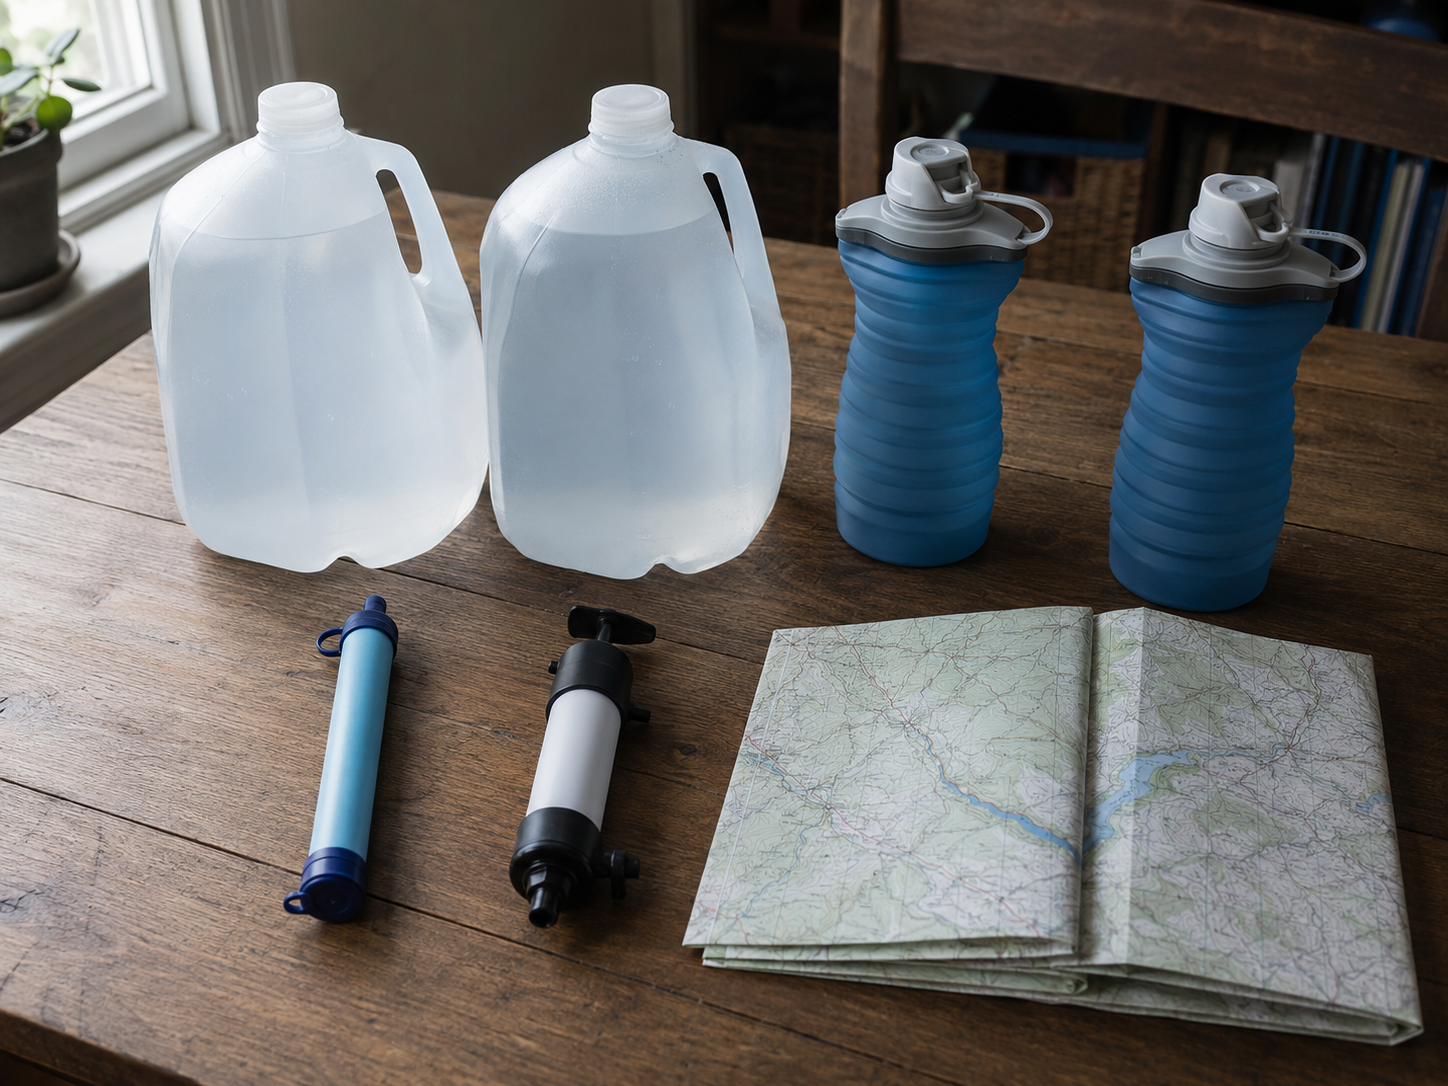
Dehydration becomes a real danger fast, especially if you are stressed, working hard, or in hot conditions. Aim for one gallon per person per day. For a 72-hour kit that means three gallons per person, held in a mix of sturdy bottles and a couple of collapsible containers that save space when empty.
Don’t rely only on bottled water. It takes too much space and weight for kits that need to move. Store water for immediate needs, but include a reliable purification method for redirection or longer stays. A personal filter straw or compact pump filter is worth the small extra cost. They let you top off from a questionable source without carrying all the weight.
Avoid cheap purification tablets as your sole plan. Many taste bad, and people forget them until they need them. If you pick tablets, pair them with a small filter or boiled-water plan. For car kits or grab-and-go bags, prioritize lightweight, portable solutions like a filter straw paired with one or two liters of stored water.
Practical tradeoff: filters are lighter and reusable, but need source water and can clog. Stored water is immediate but heavy. My advice is to carry both: enough stored water for the first day or two, and a compact filtration method to sustain you after that.
Food: Keep It Simple and Calorie-Dense
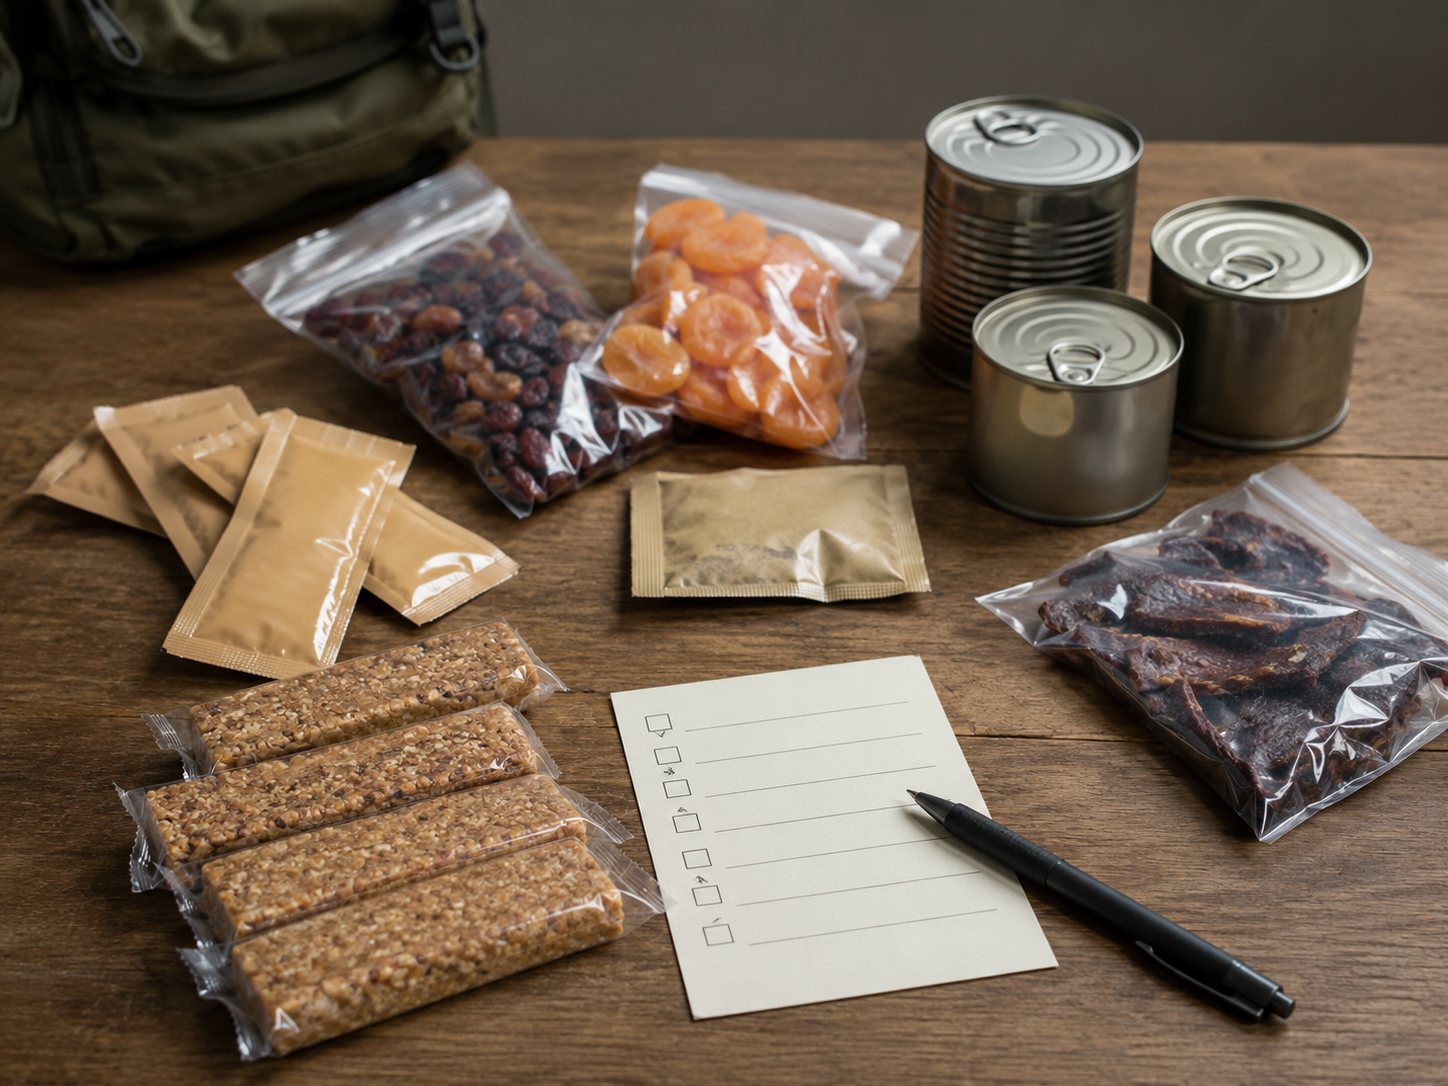
In a 72-hour kit aim for foods that need no cooking, stay edible without refrigeration, and pack a lot of calories in a small space. Think energy bars, nut butters in single-serve packets, canned goods with pop-tops, dried fruit, and jerky. These are familiar, shelf-stable, and give you usable energy when you do not have fuel or time to prepare meals.
Target a three-day supply per person, and plan for roughly 2,000 or more calories per day. That is a practical baseline for most adults; factor in higher needs for heavy manual work, nursing moms, or growing teens. Pack a mix of pure calories and a few comfort items like hard candy, instant coffee, or tea. Those small morale boosts matter more than you expect.
Avoid foods that require much prep, special equipment, or rehydration unless you also include reliable means to cook and purify water. Skip expensive novelty MREs unless you have a specific reason to carry them; they are heavy and often cost-prohibitive for a family kit. Prefer shelf-stable pouches and emergency food bars that list clear ingredients, calories per serving, and long best-by dates.
When buying, check labels for allergens and pick family-friendly options if you need to cover kids or people with restrictions. Rotate supplies on a schedule so nothing expires, and keep an eye on packaging integrity. A small, well-chosen selection beats a bulky, fancy assortment you will never use.
First Aid: Cover the Basics, Skip the Overkill
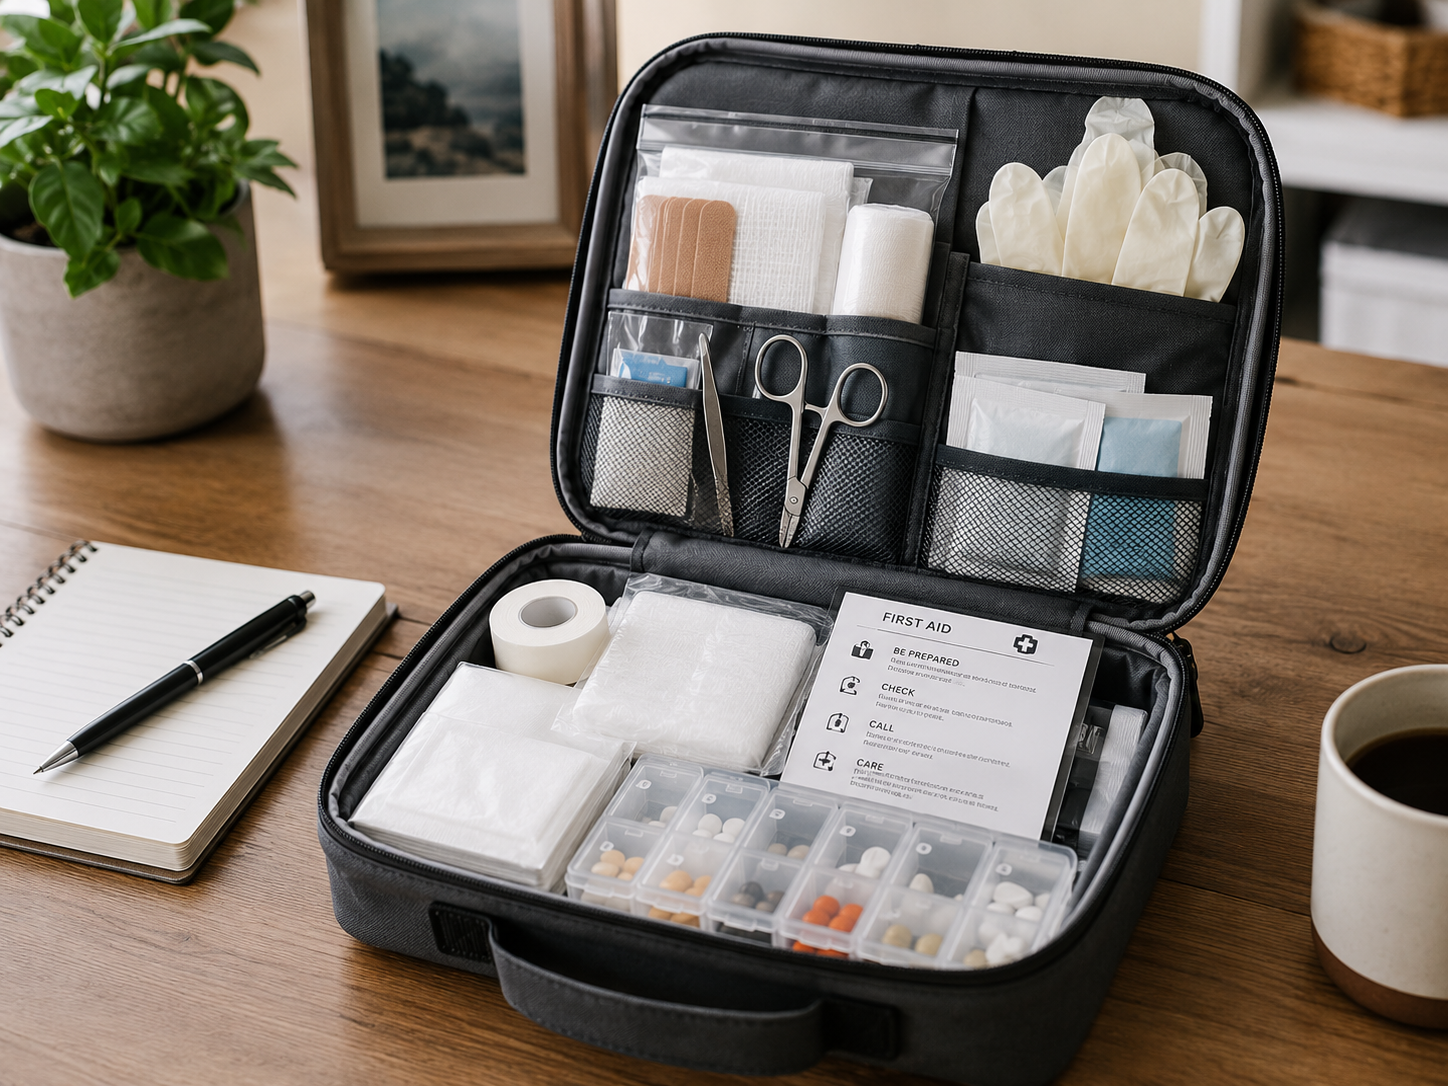
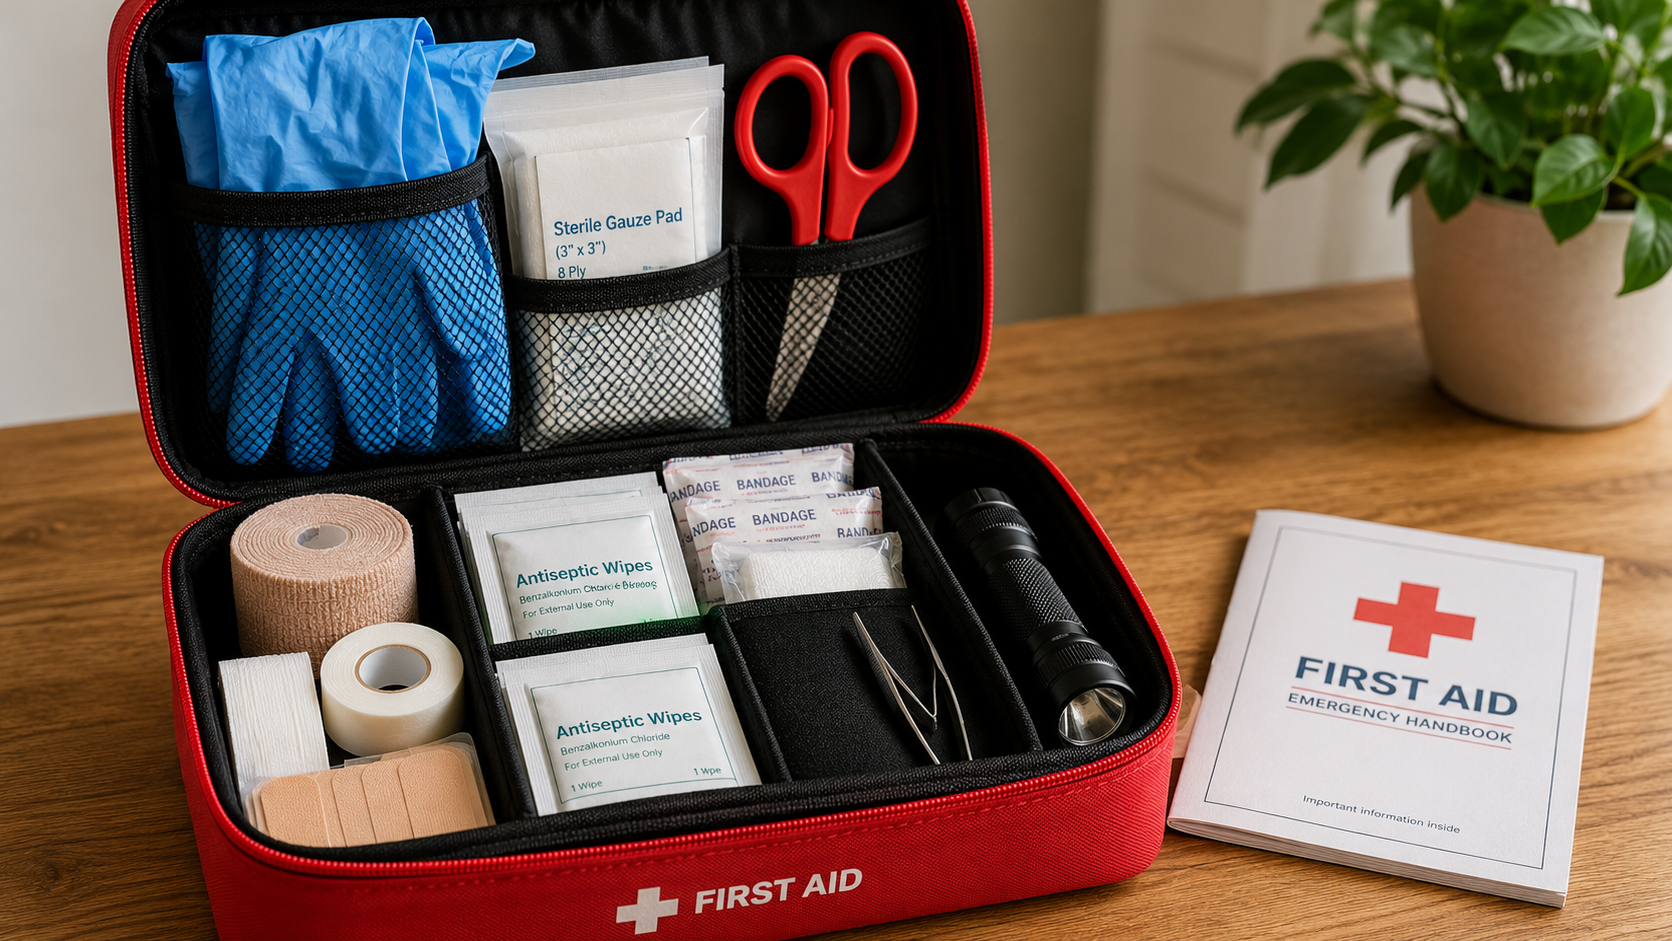
Minor cuts and allergic reactions become major problems when you are away from care. A practical 72-hour kit focuses on items you will actually use, and on keeping enough of any prescription or critical meds for 3 to 7 extra days. Start with bandages (various sizes), sterile gauze, adhesive tape, antiseptic wipes, and a few elastic wraps. Add over-the-counter pain relievers and antihistamines, plus any personal meds and copies of prescriptions.
Include tools that make a real difference: tweezers, medical scissors, disposable gloves, and a basic first-aid guide or quick-reference card. Avoid tiny pre-made kits that cram in novelty items but lack enough dressings or the right medications. Those are convenient to buy, not useful when someone is bleeding or having an allergic reaction.
Pay attention to family-specific needs. If someone uses an inhaler, EpiPen, or prescription anticoagulant, pack spares and clear instructions for caretakers. Store meds in labeled, resealable bags and note expiration dates. Buy a solid family-grade kit from a trusted source and then customize it to your household, rather than relying on budget travel kits as the whole solution.
Tradeoff: A larger, better-stocked kit costs more and takes up space, but it covers real problems you are likely to face. Warning: keeping expired prescription meds or ignoring dosage instructions is worse than having no extra meds at all.
Lighting: Reliable and Hands-Free
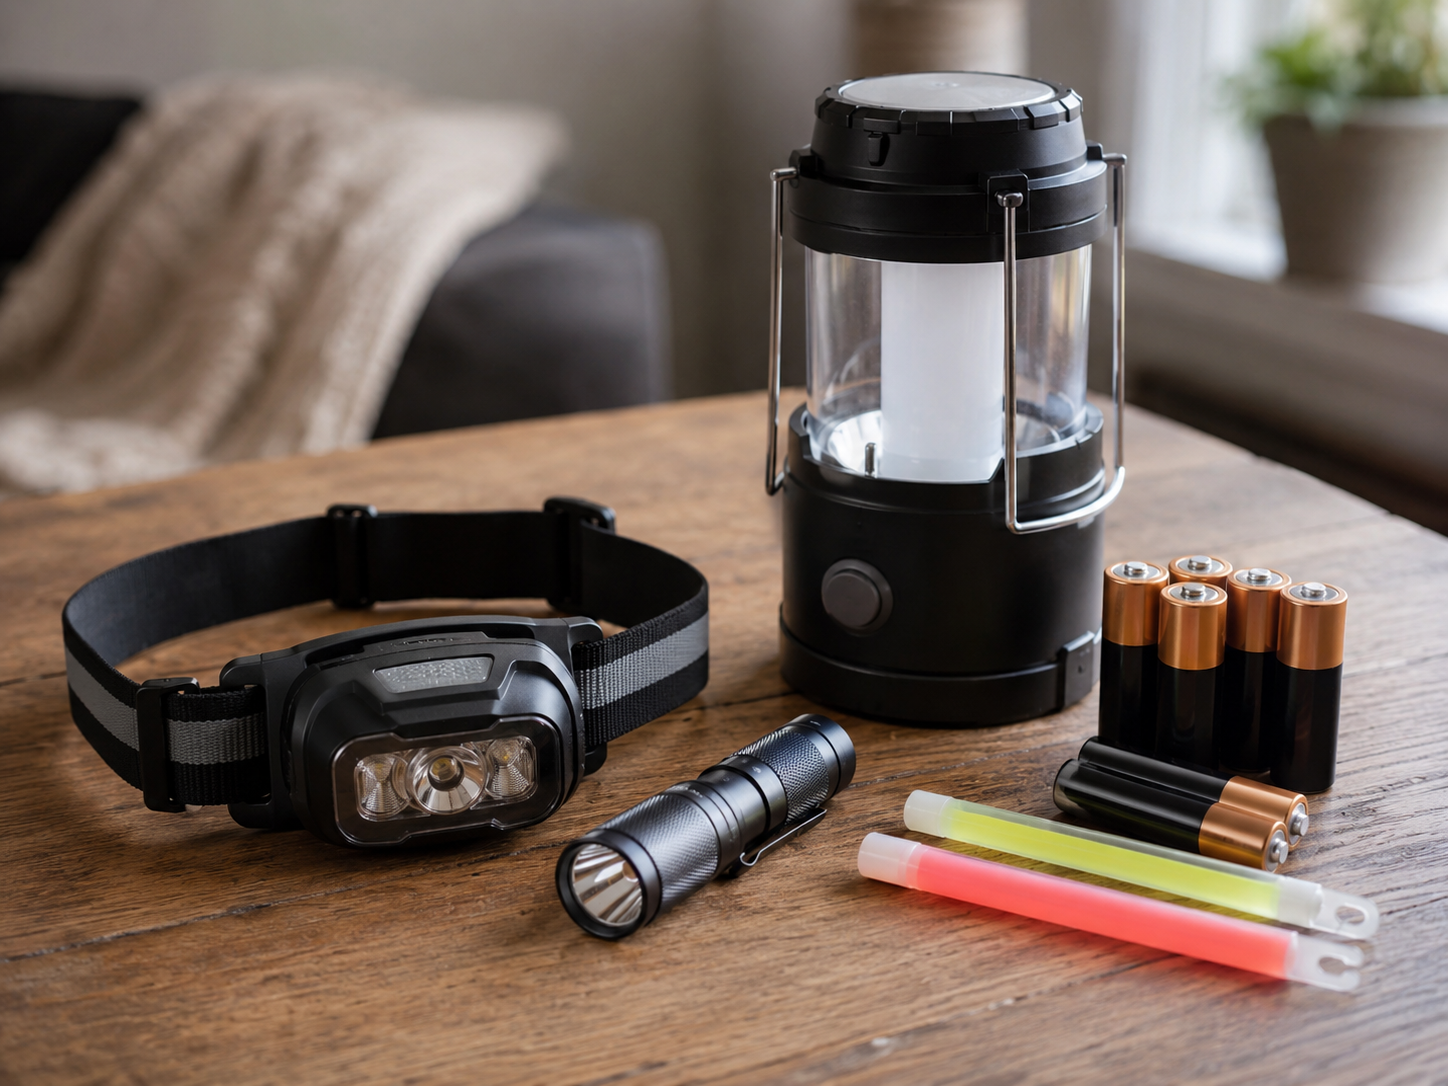
Light becomes a safety item during a blackout, not a convenience. Pack at least one good headlamp per person for hands-free tasks, a compact handheld flashlight for checking outside or signaling, and a couple of long-lasting area lights or glow sticks for general illumination. Prioritize battery life and durable construction over gimmicks.
Bring extra batteries sized to your main lights and consider a crank or rechargeable lantern as a backup if you expect extended outages. Cheap single-use flashlights often fail when you need them most, so buy one solid option and keep it charged or stocked. If weight is a concern, choose LED models,they run longer on the same batteries.
For household use, a lantern or several large glow sticks makes moving around less annoying and reduces trip hazards. For bug-out scenarios, favor compact, weather-resistant lights with a strobe or high-beam option for signaling. The tradeoff is cost and weight, but skimping on light is a false economy when visibility matters for safety and comfort.
Communication: Stay Informed
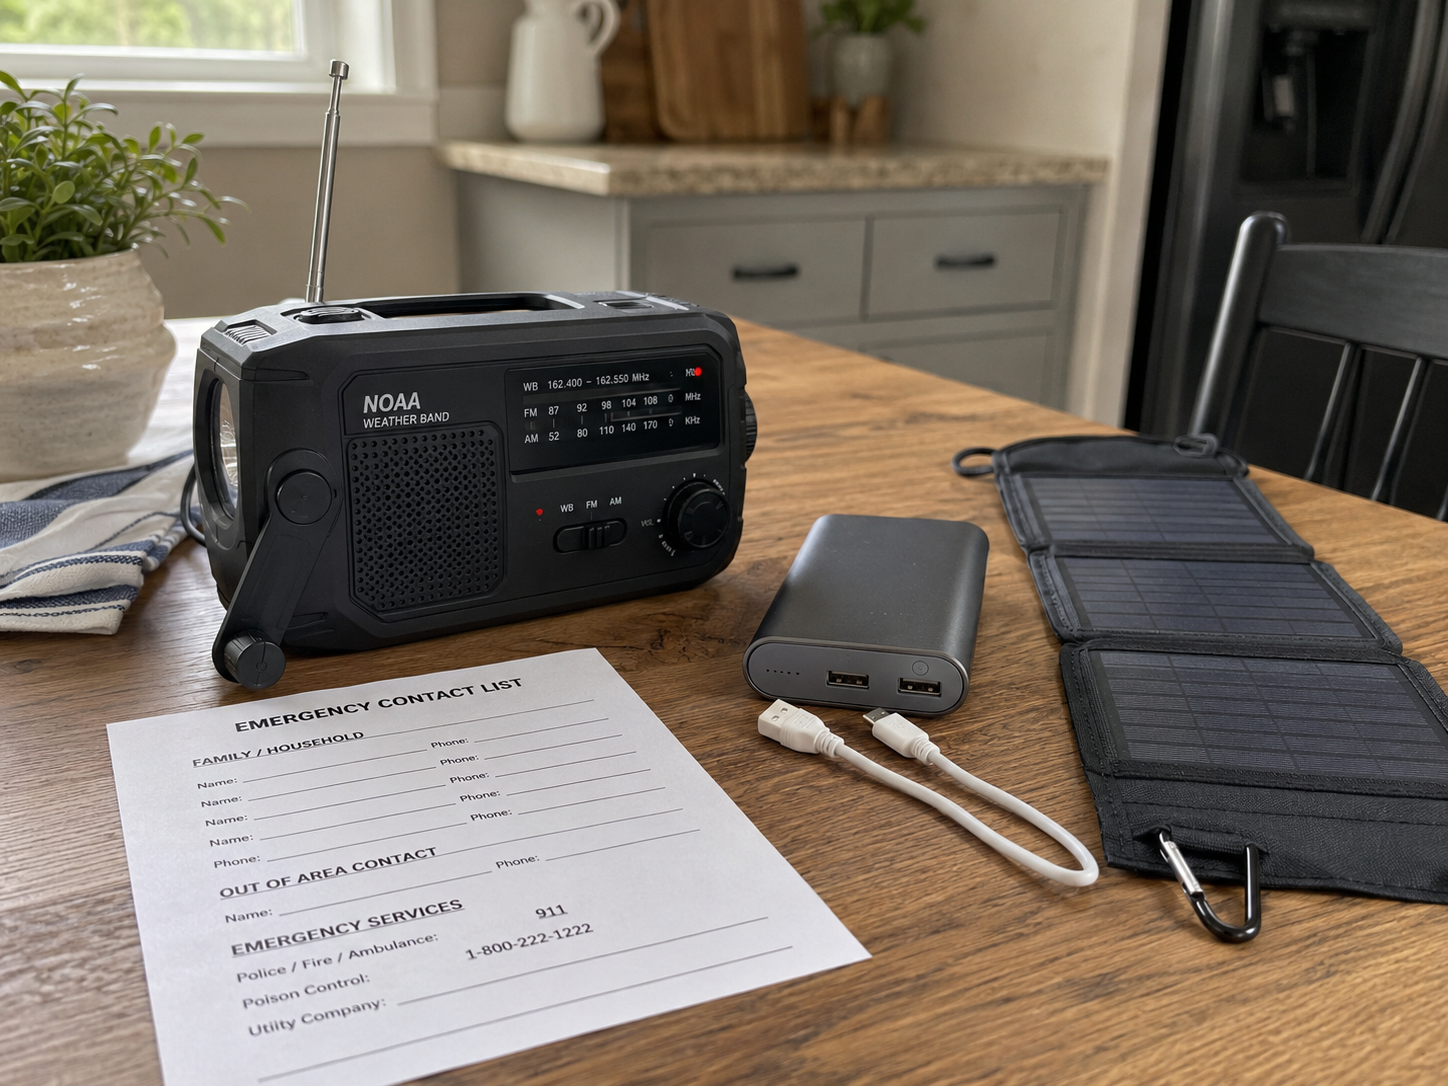
Cell service and internet often become unreliable after storms, power outages, or during evacuations. A battery or hand-crank radio that receives NOAA weather alerts is the single most practical device to include. It keeps you aware of changing conditions when phones die or networks get crowded.
Pack at least two ways to charge phones: a wall or car USB charger plus a portable power bank with enough capacity for a couple of full charges. Store a solar trickle charger or a small crank charger as backup if you expect extended outages. Keep a paper list of emergency contacts, important numbers, and a meeting plan , don’t rely only on contacts stored in a phone.
Consider a dedicated emergency radio with AM/FM, NOAA, and USB charging ports. Midland and similar models often show up in reliability roundups and give the best mix of features for the price. If you need crew or family coordination, add low-power, short-range comms like FRS radios, which work without a license and are simple to use.
Tradeoff to accept: compact radios and chargers save weight but offer limited range and battery life. If you plan to shelter in place for long periods, prioritize higher-capacity power banks and a radio with robust battery options. If mobility is key, favor lighter gear that still covers NOAA alerts and basic phone charging.
Backup Power: Keep Devices Alive
Phones and small devices become lifelines during a 72-hour event. They provide maps, emergency alerts, flashlight apps, and a way to call or message loved ones. If your kit leaves you with dead batteries, everything else matters less.
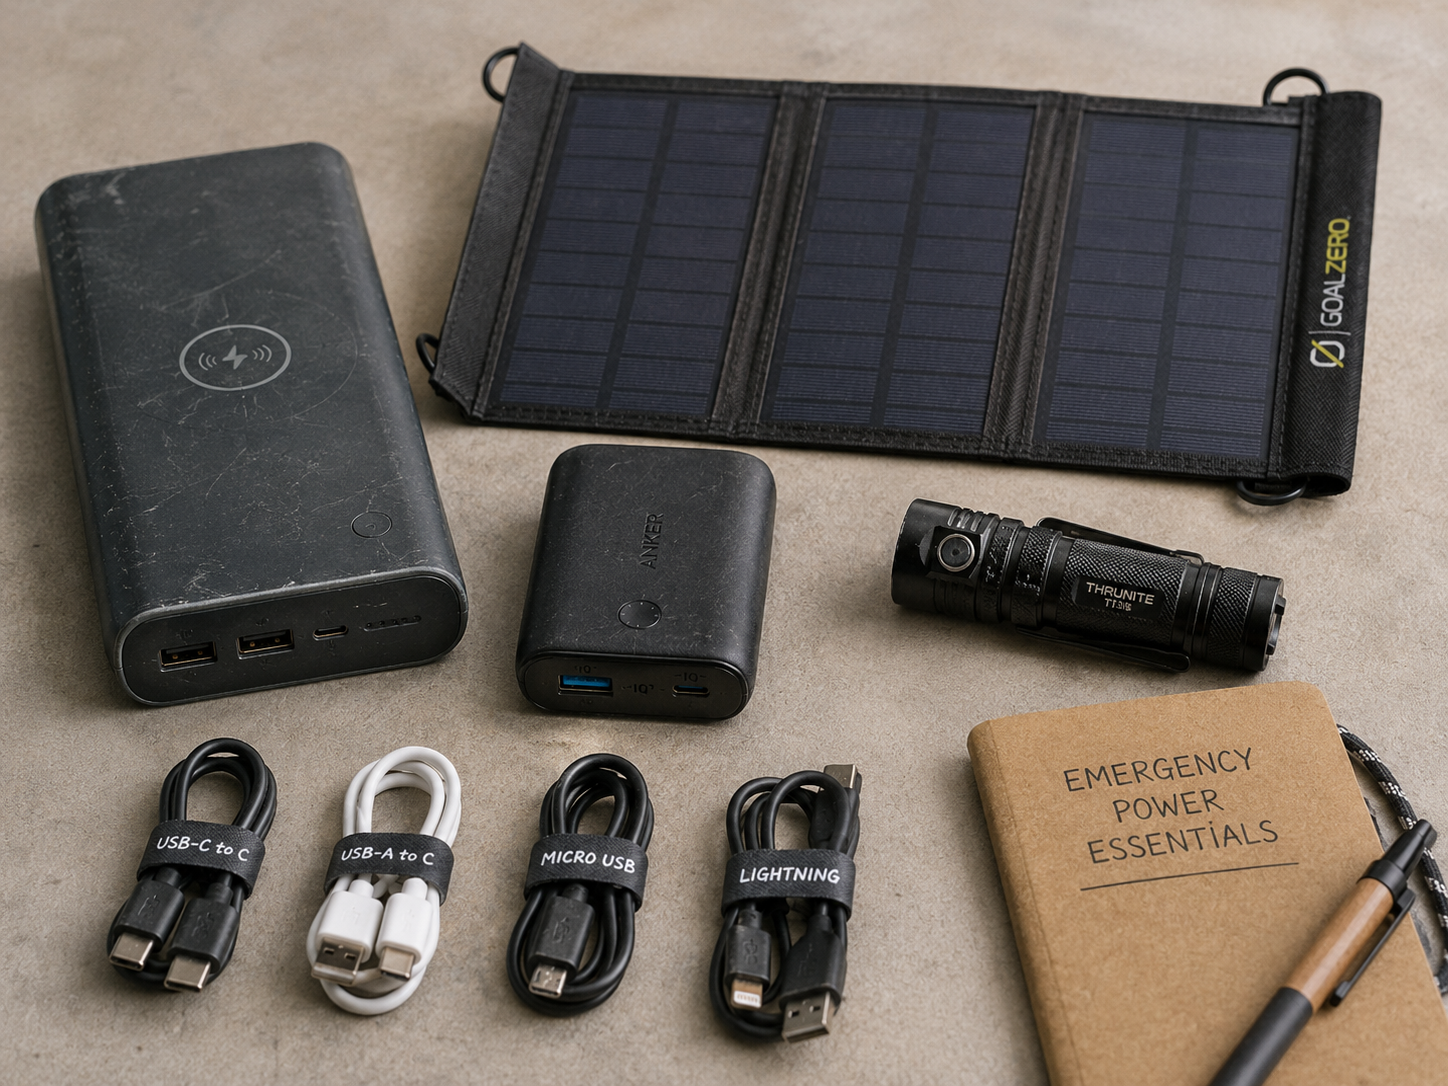
Pack at least one high-capacity power bank (10,000 mAh or more) as a baseline. If you can, add a second smaller bank for redundancy. Include short, rugged charging cables and a USB wall adapter so you can top devices when power is available. A solar charger is useful for extended outages, but treat it as supplemental. Solar works slowly and depends on sun exposure.
Think about device priorities. Keep a dedicated bank for phones and another for low-power gear like radios or headlamps. Label cables and store them in a small pouch so you do not waste time untangling or guessing which cable fits which device. Finally, rotate and test your batteries every six months, and carry a small checklist so you know what needs charging before you leave home.
Tradeoff: High-capacity banks are heavier, so balance capacity with how mobile you need to be. If you expect to bug out on foot, favor lighter banks and a compact solar panel. If you expect to shelter in place, prioritize bigger banks and more storage.
Sanitation and Hygiene: Prevent Secondary Problems
Dirty conditions make an emergency worse fast. When people are cramped together, a small cut or poor hygiene can turn into an infection, diarrhea, or a morale problem that drags everyone down. Pack for basic cleanliness first, not luxury.
What I actually recommend: moist towelettes, a small bottle of alcohol-based hand sanitizer, a few bars of soap or biodegradable soap sheets, a roll or two of toilet paper, garbage bags (double as waste and waterproofing), and a handful of disposable gloves. Add feminine hygiene products if anyone in your group needs them, plus toothpaste, toothbrushes, and deodorant to avoid hygiene-related illness and discomfort.
Also bring a simple portable toilet option, like a 5-gallon bucket with sturdy lids and disposable liners, or commercial waste bags with absorbent powder. They keep human waste contained and make cleanup manageable. For longer stays, plan for extra garbage bags and a sealed container to store used waste until disposal is possible.
Tradeoff: space and weight versus comfort. Toilet paper, wipes, and a bucket are light but can take room. Don’t skimp on garbage bags and hand sanitizer; they are cheap and prevent much bigger problems. If you have limited space, prioritize moist towelettes, sanitizer, toilet paper, and a few liners for an improvised bucket.
Warmth, Shelter, and Tools: Pack for Survival, Not Comfort
Exposure is a faster threat than people assume. Cold, wet, or windy conditions will sap energy and morale, and a basic kit for warmth and shelter can be the difference between waiting out an incident and getting into trouble. Practical items to include are an emergency (space) blanket or bivvy for each person, a compact sleeping bag or a warm synthetic blanket, a lightweight rain poncho, and a couple of warm base layers or wool socks. These are small, cheap, and actually useful compared with bulky gear you will never carry.
Shelter items should also double as repair or weatherproofing tools. A roll of heavy-duty garbage bags or a sheet of plastic and some duct tape can patch a leaky roof, create a windbreak, or be fashioned into a sleeping tarp. Duct tape is one of the highest-value pieces of kit you can pack. It works as first aid tape in a pinch, gear repair, and temporary shelter construction.
A short tools and multi-purpose list rounds out the kit. Carry a decent multi-tool with pliers and a knife, a small adjustable wrench for turning off utilities, a whistle for attracting attention, and a few dust masks for smoky or dusty conditions. Add a length of cord or paracord and a few zip ties. These items are compact and handle dozens of practical problems in emergencies.
Finally, pack a small envelope with local cash in small bills. When systems are down, cards and phones may not work. Cash lets you buy water, transport, or food without relying on networks. The tradeoff: every extra item adds weight, so prioritize lightweight, dual-use gear and be realistic about what you will actually carry.
Documents, Cash, and Personal Extras
Paper and digital backups matter. Stash photocopies of IDs, insurance cards, medical records, and prescriptions in a recommended waterproof document pouch. Add a USB drive with scanned copies of the same documents, and keep passwords or a printed emergency contact list. Store these where you can grab them quickly, not buried at the bottom of a pack.
Carry some cash in small bills. ATMs and card readers may be down after an emergency. You do not need a wad, but enough for gas, food, and transportation for a day or two is sensible. Rotate the bills occasionally so they do not degrade.
Customize the rest of the kit for your household. Babies need formula, bottles, and diaper supplies. Pets need a few days of dry food, a collapsible water bowl, and recent vaccination records. Kids benefit from compact activities or comfort items to reduce stress. Don’t forget spare glasses, contact solution, and chargers for medical devices like CPAPs or portable oxygen.
This section is a tradeoff between thoroughness and weight. Prioritize life-critical documents, cash, and medication supplies first. Extras like games and comfort items are worth including if your kit is meant to support family members through the initial 72 hours, but keep them compact and replaceable.
Pre-made Kits vs DIY: Start Smart, Upgrade Fast
Pre-made 72-hour kits are useful as a shortcut. They come packed and compact, so they get you most of the way to readiness without weeks of shopping. The downside is they often skimp where it matters: water quantities, food quality, first-aid depth, and hygiene supplies. Some kits feel padded with marketing fluff rather than truly practical gear.
A hybrid approach works best for most people. Buy a decent pre-made kit as a baseline, then immediately upgrade the items that affect survival and daily comfort. Top priority upgrades are water (bring your own jugs or add a filter), calories (real food bars or pouches), your personal medications, a more comprehensive first-aid kit, and reliable power like a rated power bank and headlamp.
If you are building from scratch, buy in this order: water storage, a good water filter, a core first-aid kit built around your prescriptions, calorie-dense nonperishable food, an emergency radio, a headlamp with spare batteries, a power bank, and a basic sanitation kit. That sequence covers life-sustaining basics first, then adds communications and comfort.
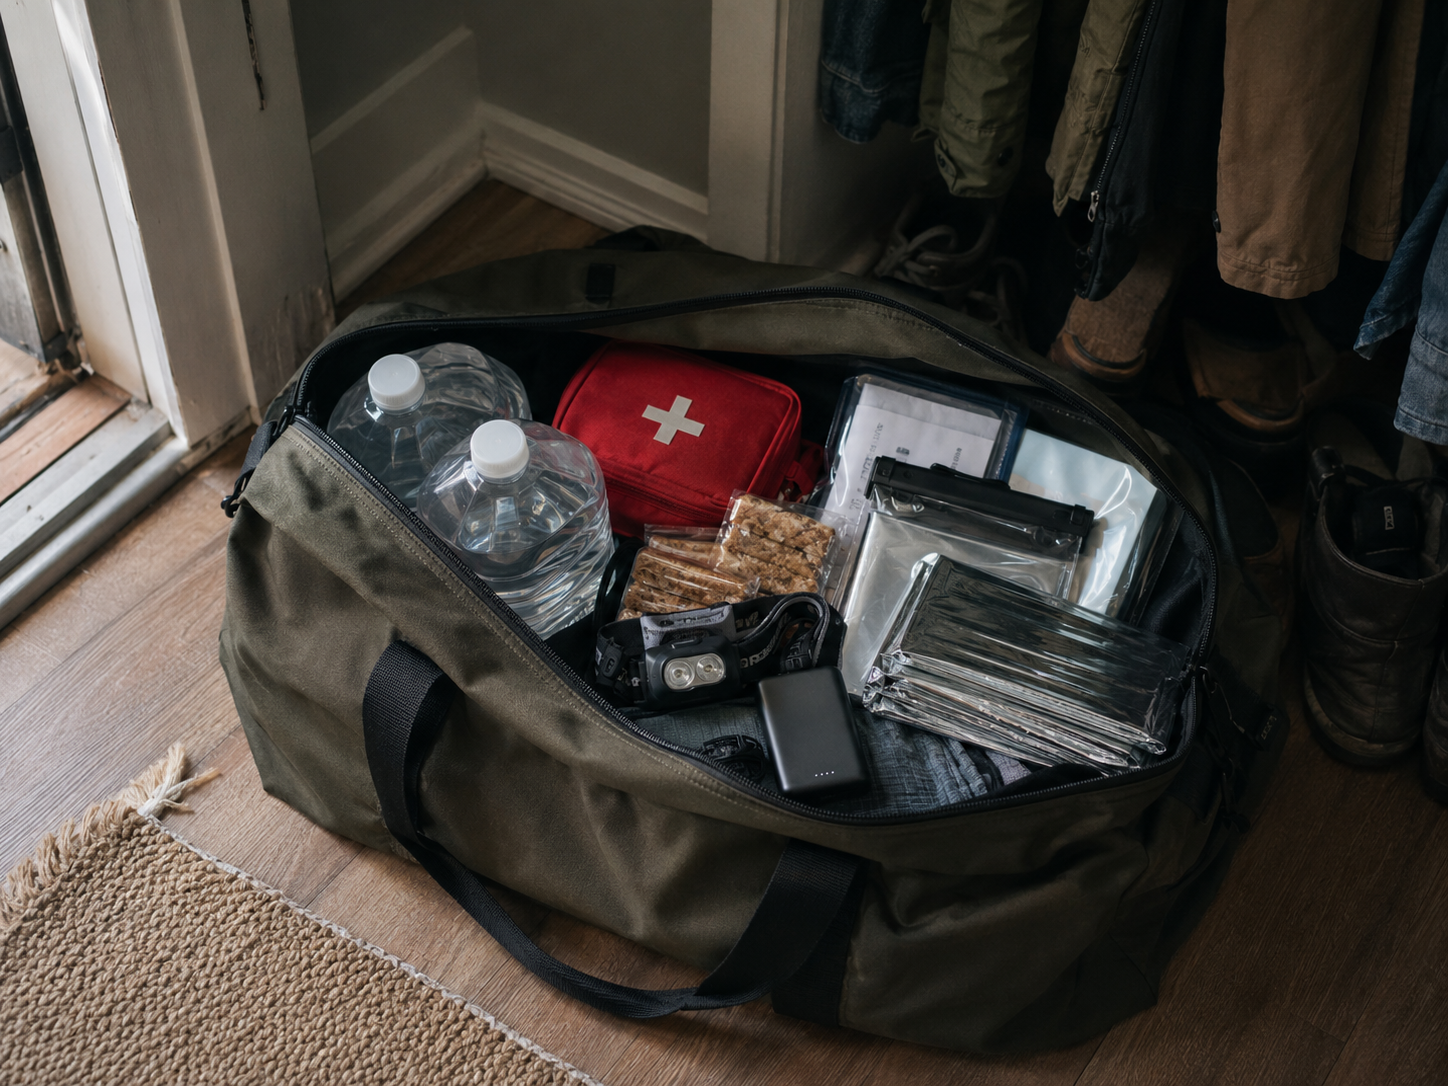
Store kits where you can grab them quickly, near an exit or split between home and car. Use tough duffels or sealed plastic bins. Check the kit twice a year, rotate food and water, refresh meds and batteries, and update clothing or child-specific items as needed. The goal is a kit you will actually use, not a dusty box you hoped would be enough.
Final Word: Build a Kit You Will Use, Not One That Impresses
The best 72-hour family kit is not the fanciest or most expensive one on the shelf. It is the kit you will actually carry, maintain, and rely on when things go sideways. Focus on essentials that match your household size, health needs, and local hazards, then prioritize portability and simplicity. A heavy, overstuffed pack stays at home and collects dust. A light, well-chosen kit lives in a car or closet and gets used.
Start small and expand. Put together a solid base kit and add specific items over time, like medication backups, extra water, or a better radio. Practice once or twice so you know where things are and how to use them. That reduces panic and makes the kit a tool, not a mystery box.
Follow local emergency guidance and adjust for unique needs, such as infants, pets, elderly family members, or special medical conditions. If you want more depth on any single item, consult the linked specialist guides for radios, power banks, water filters, and first aid. Practicality beats perfection: a kit that fits your life gives you useful confidence, not extra worry.
More BuyerProbe Reads
Keep Reading
review / buying_guide
First Aid Kit Checklist: What I’d Want in One Before I Trust It
A first aid kit is one of those things people buy, toss in a drawer, and forget about, until the day they actually need it. Here’s what I’d check before trusting one for the house, truck, range bag, camping kit, or bug-out setup.
review / product
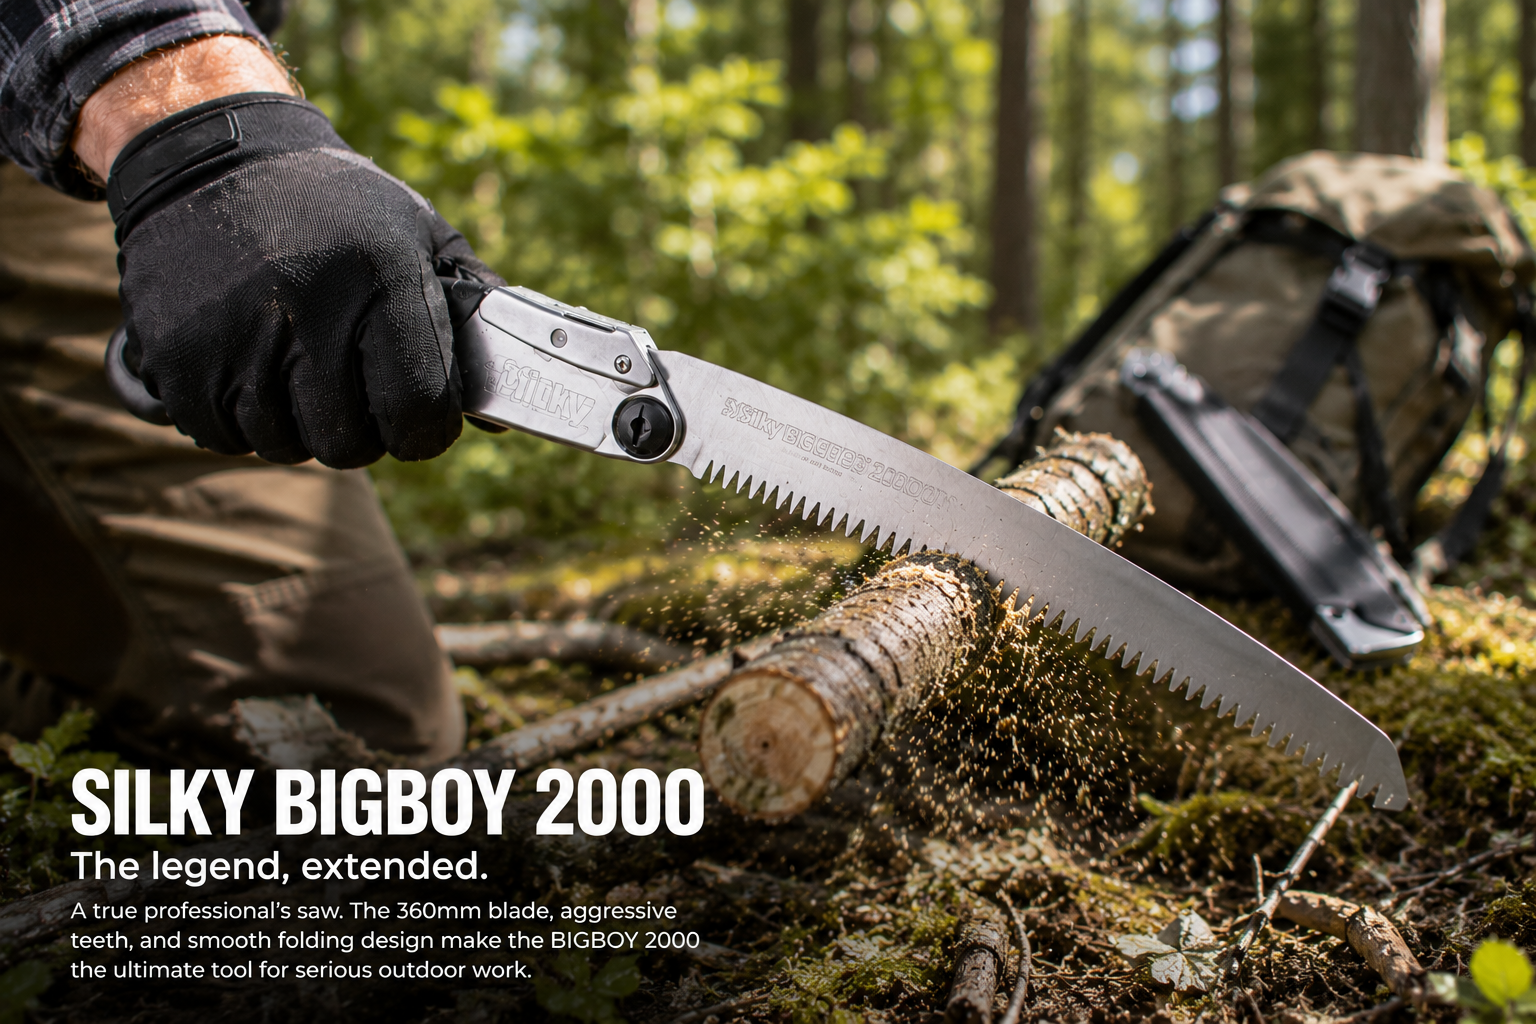
Silky Professional BIGBOY 2000 Folding Saw: durable, fast cutting for heavy yard and trail work
A practical look at the BIGBOY 2000 after a year of regular use. Learn what it handles well, its real limitations, and who should buy it.
review / comparison
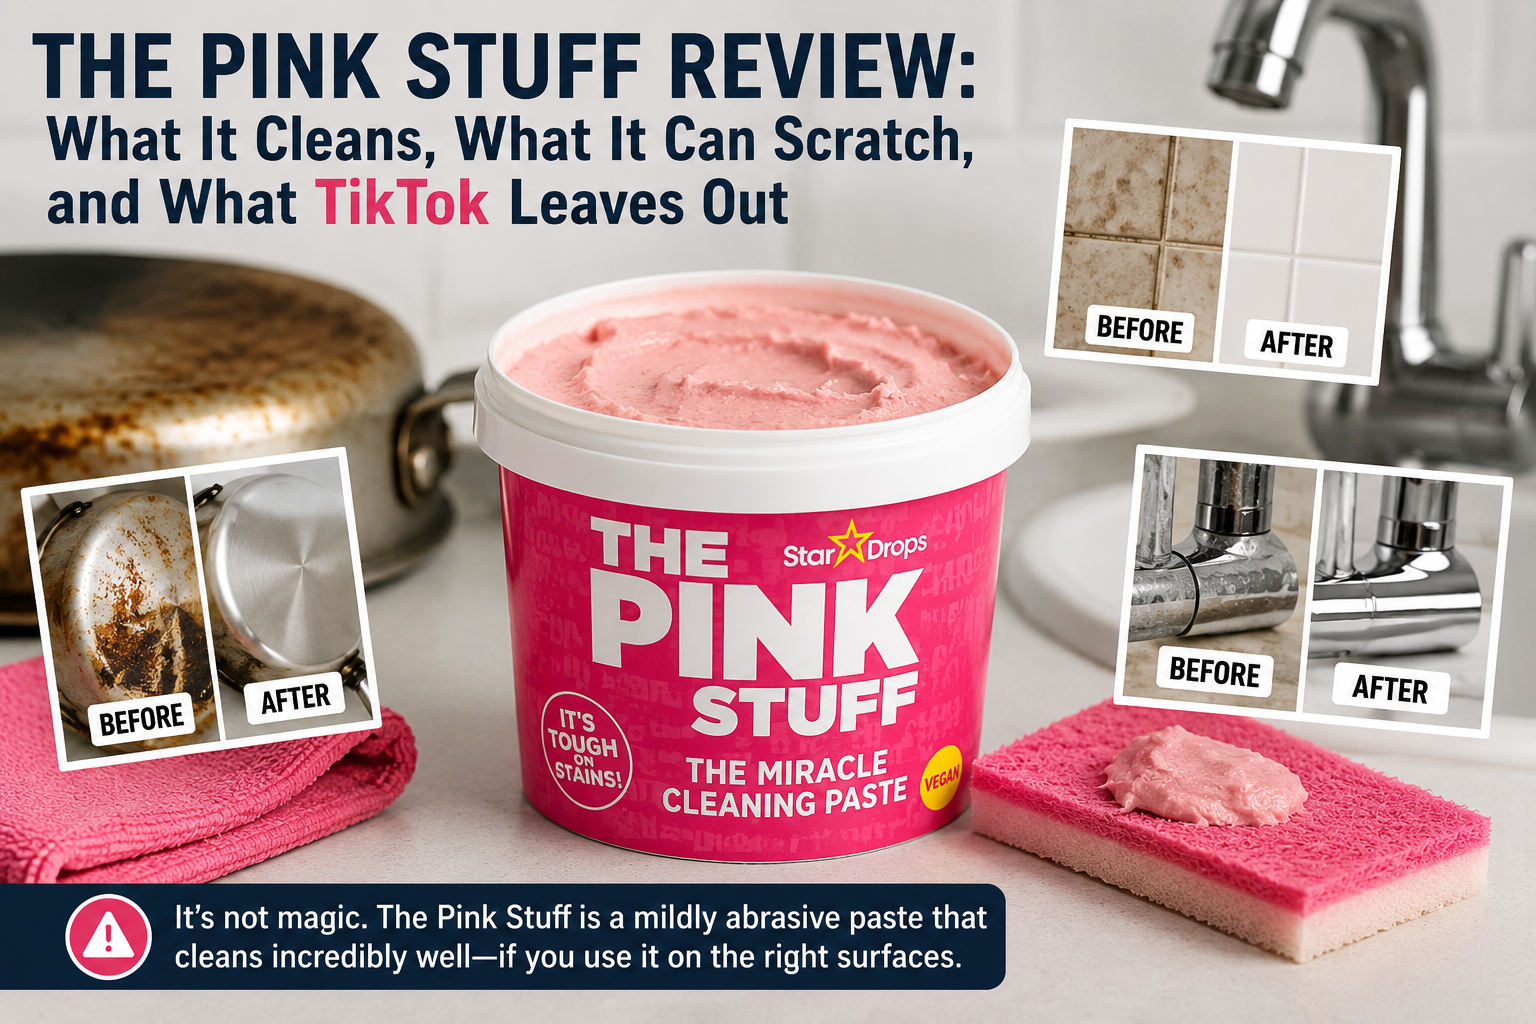
The Pink Stuff Review: What It Cleans, What It Can Scratch, and What TikTok Leaves Out
A practical look at The Pink Stuff Miracle Cleaning Paste and what viral videos do not show. Learn where it shines, where it risks damage, and better options for delicate surfaces.
mistakes / buying_guide
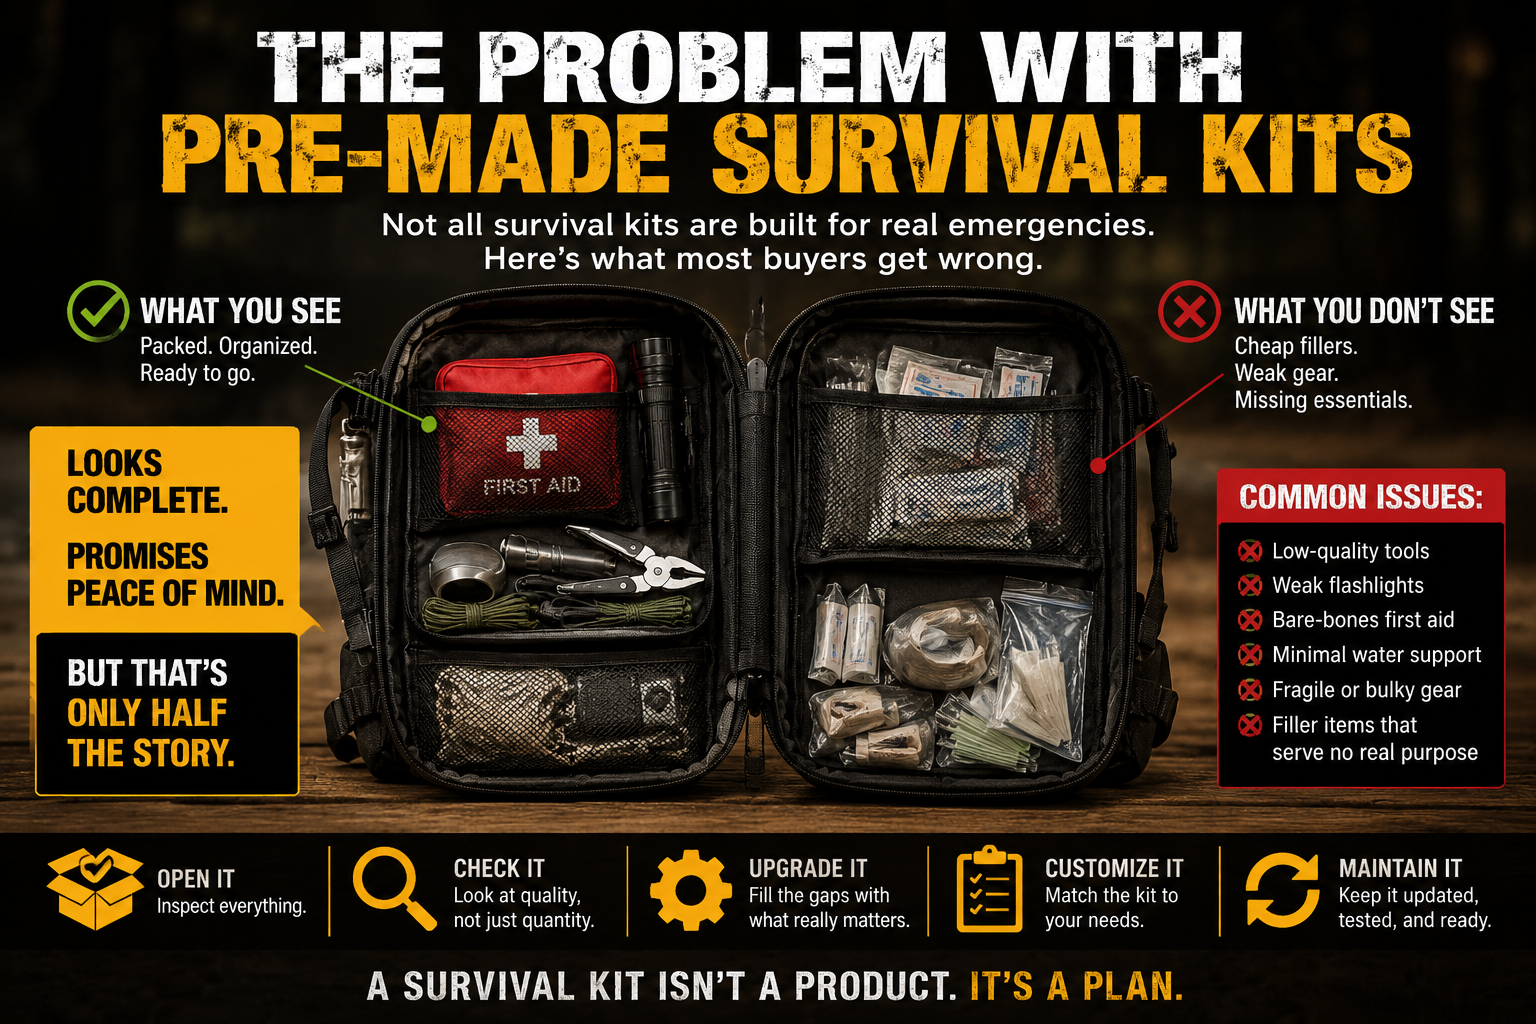
The Problem With Pre-Made Survival Kits
Pre-made survival kits can look like an easy fix for emergencies, but many prioritize shelf appeal over real usefulness. Learn what these kits miss, where they help, and how to vet one before you rely on it.

review / product
Smart glasses buying checklist: what to actually watch for
Smart glasses are tempting, but don’t buy on novelty. This checklist walks through the practical features and tradeoffs to check before you spend.
review / product
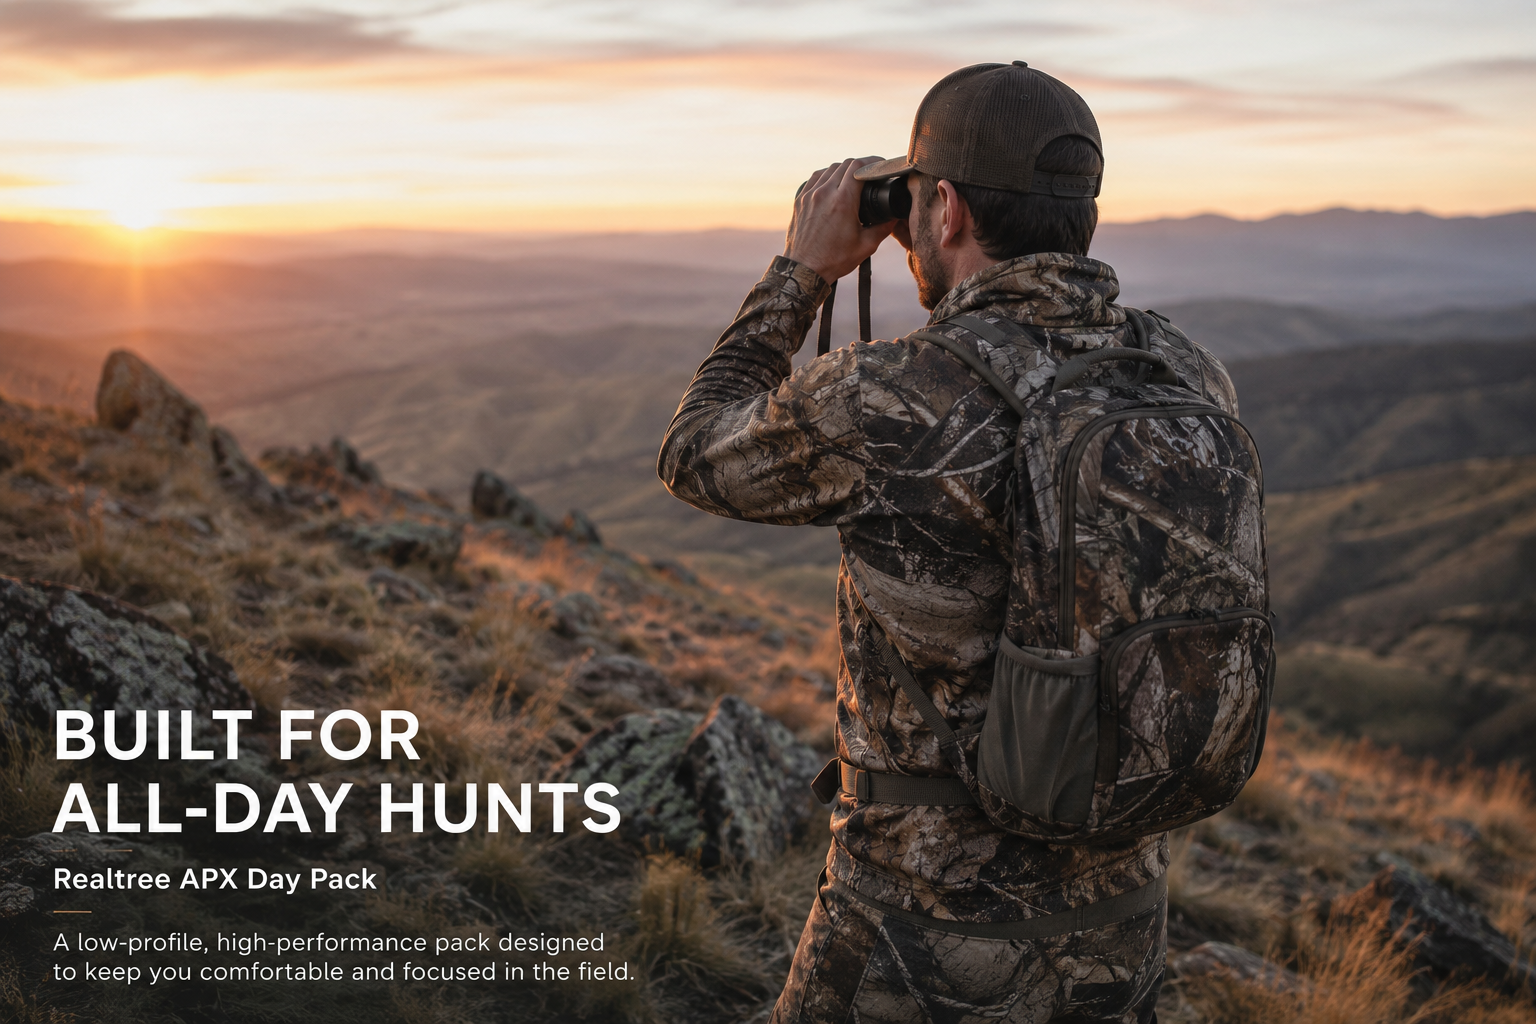
ALPS OutdoorZ Crossfire Pack (Realtree APX) Review: A Comfortable Day Pack for Hunters
A hands-on look at the Crossfire 23L hunting pack. Learn where it shines, who should buy it, and which hunters should look for bigger, tougher alternatives.
hindsight / product
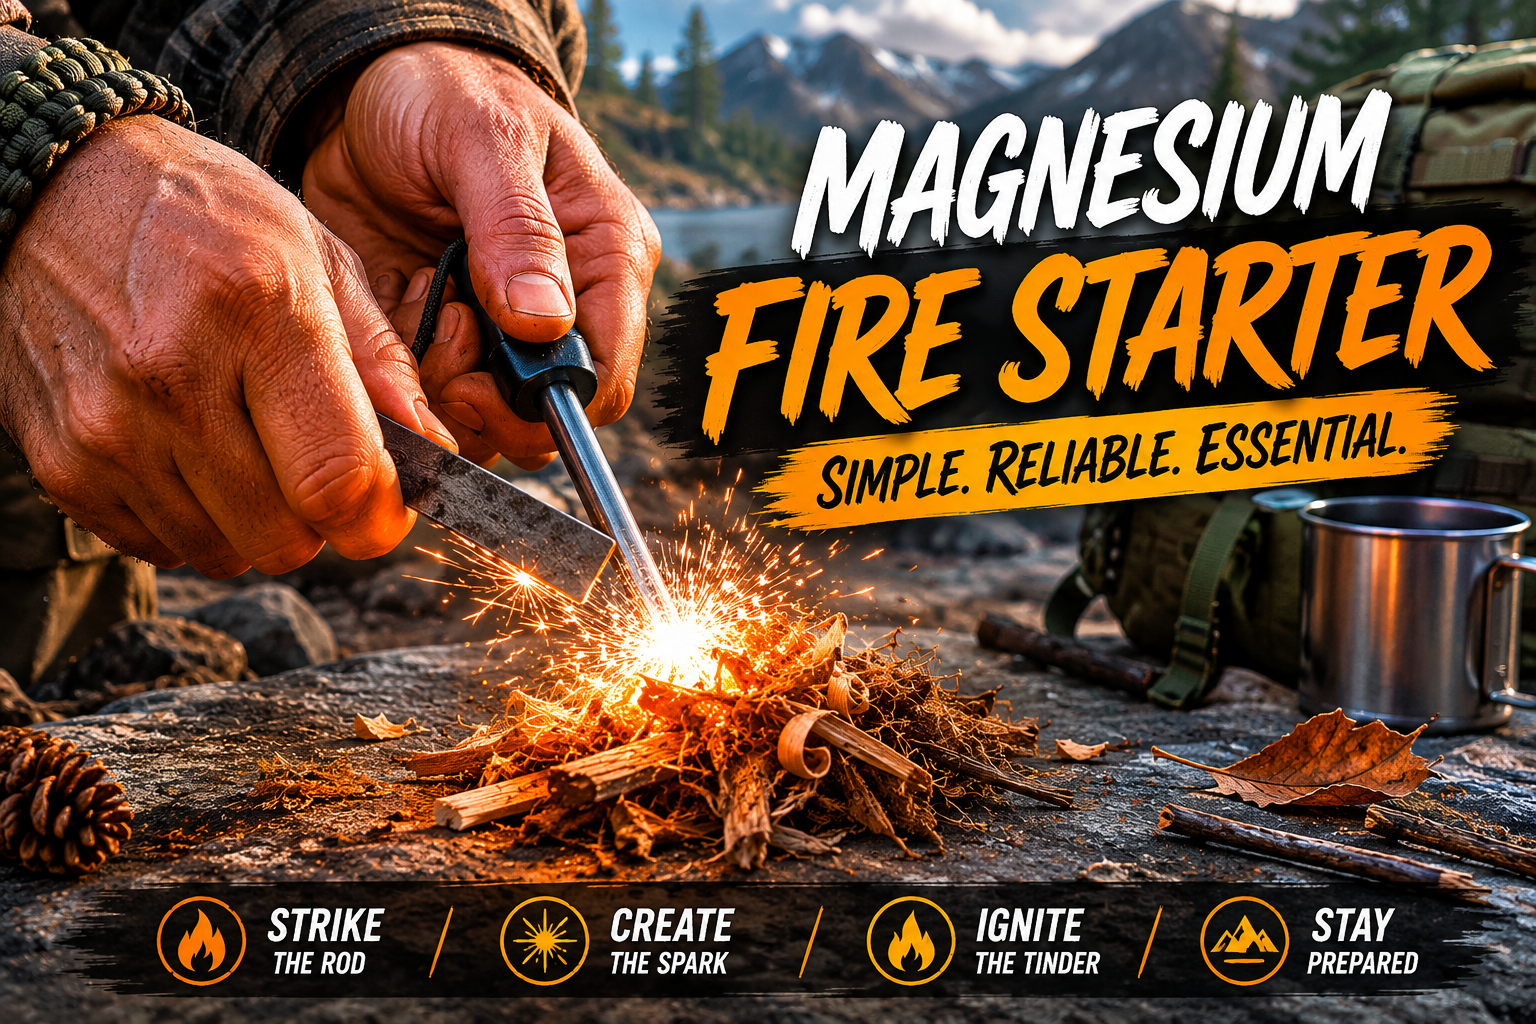
Hindsight: Why a Magnesium Fire Rod Belongs in Every Pack
A wet night on the Appalachian Trail showed one hiker how fast a lighter failure becomes a survival problem. Learn why a magnesium rod is a simple, reliable backup and what to watch for.
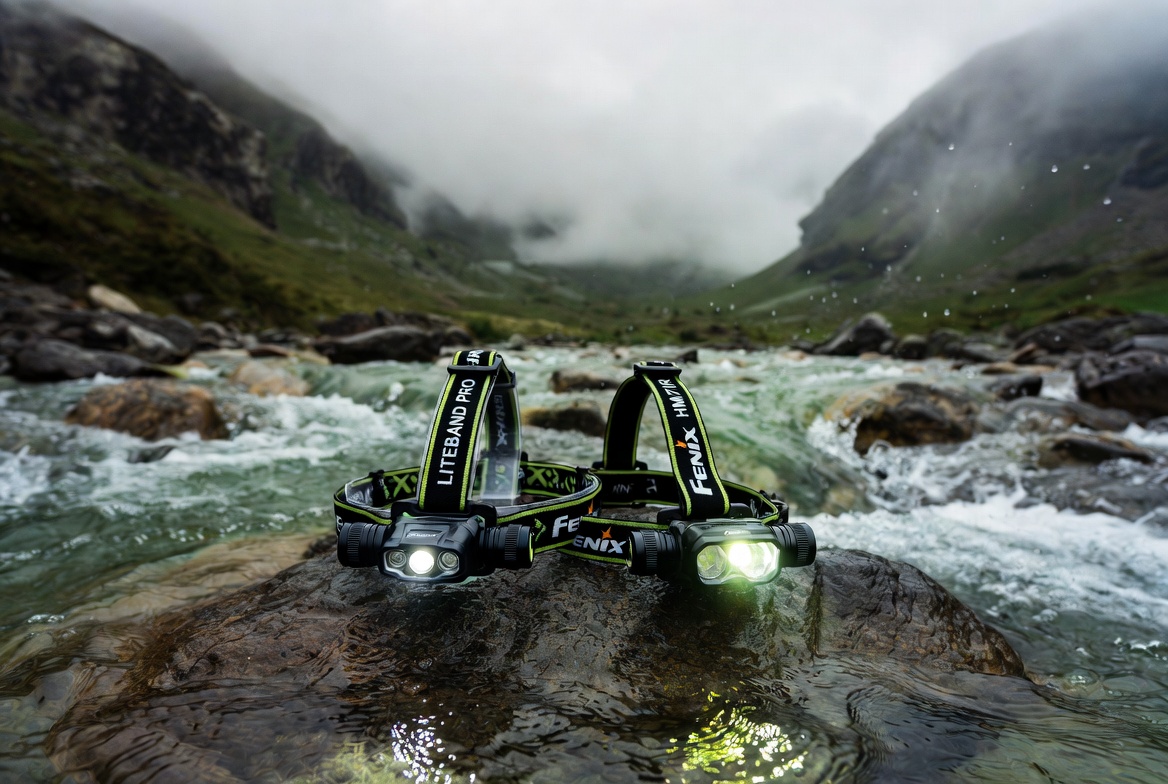
comparison / product
LITEBAND PRO vs Fenix HM71R: Which Rechargeable Headlamp Fits Your Work and Outdoors Needs?
A straight-up comparison of the LITEBAND PRO and the Fenix HM71R covering brightness, beam control, runtime, fit, and durability so you can pick the right headlamp for your tasks.